

Product


News
Our company offers a comprehensive set of products in the industrial, commercial and
residential fields.
How to Install a Fixed Tilt Ground Mount System for Optimal Solar Performance
Release time:
2026-04-26
How to Install a Fixed Tilt Ground Mount System for Optimal Solar Performance
Table of Contents
- 1. Introduction to Fixed Tilt Ground Mount Systems
- 2. Benefits of Fixed Tilt Ground Mount Systems for Solar Installations
- 3. Planning Your Installation
- 4. Site Selection for Maximum Solar Exposure
- 5. Tools and Materials Required
- 6. Step-by-Step Installation Process
- 7. Making Adjustments for Optimal Performance
- 8. Maintenance Tips for Long-lasting Efficiency
- 9. Frequently Asked Questions
- 10. Conclusion
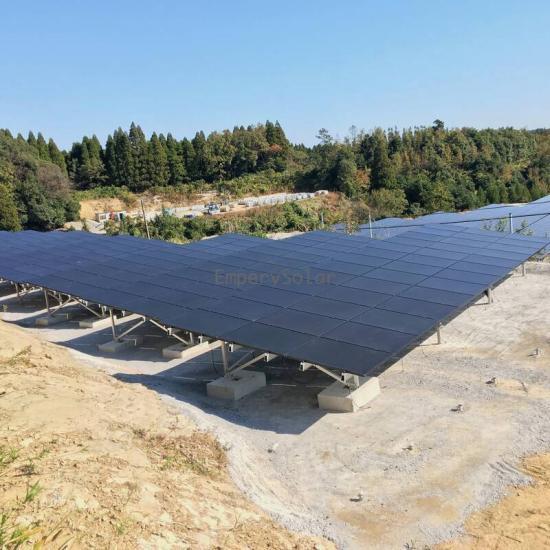
1. Introduction to Fixed Tilt Ground Mount Systems
A **fixed tilt ground mount system** is an essential component for any solar energy installation aimed at maximizing energy output. Unlike adjustable systems, fixed tilt mounts are designed to stay at a specific angle, optimizing solar panel orientation throughout the year. This guide will provide you with a comprehensive understanding of how to install such systems effectively, ensuring you harness the sun’s energy to its fullest potential.
2. Benefits of Fixed Tilt Ground Mount Systems for Solar Installations
When it comes to solar installations, choosing a fixed tilt ground mount system offers several advantages:
Ease of Installation
Fixed tilt mounts simplify the installation process, making it quicker and less labor-intensive compared to tracking systems.
Cost-Effectiveness
They are generally more affordable than their adjustable counterparts, offering a significant return on investment due to lower upfront costs and maintenance needs.
Durability
With fewer moving parts, fixed tilt systems boast greater durability, reducing the likelihood of mechanical failure over time.
Consistent Performance
They provide consistent solar exposure, making it easier to predict energy output throughout the year.
3. Planning Your Installation
Proper planning is crucial for a successful solar installation. Consider the following aspects:
Understanding Local Regulations
Before installing, check local building codes, zoning laws, and any HOA regulations that may impact your installation.
Energy Needs Assessment
Evaluate your energy consumption to determine the number of solar panels required for your system.
Budget Planning
Establish a budget that includes all costs, from equipment to installation.
4. Site Selection for Maximum Solar Exposure
Choosing the right location for your fixed tilt ground mount system is vital for ensuring optimal solar performance.
Sunlight Access
Select a site that receives maximum sunlight throughout the day. Avoid shaded areas from trees, buildings, or other obstructions.
Ground Stability
Ensure the ground is stable and capable of supporting the weight of the solar panels and mounting equipment.
5. Tools and Materials Required
To install a fixed tilt ground mount system, you will need the following tools and materials:
Tools
- **Post-hole digger** or **auger**
- **Level**
- **Measuring tape**
- **Wrenches and sockets**
- **Drill**
- **Screwdriver**
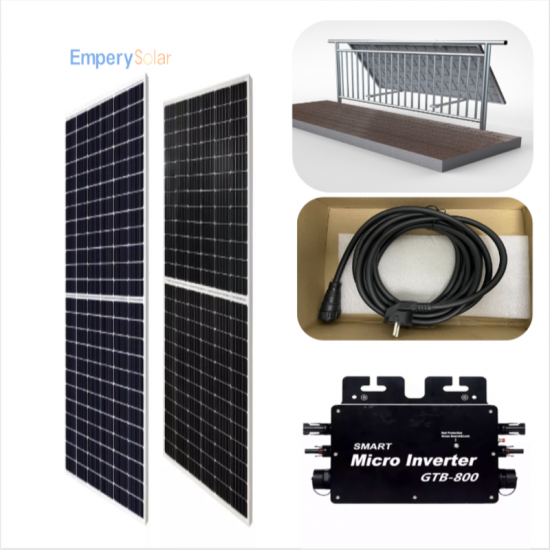
Materials
- **Ground mount frame kit**
- **Solar panels**
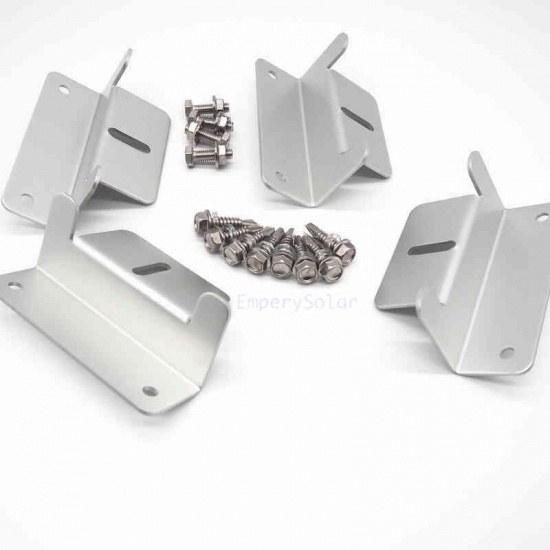
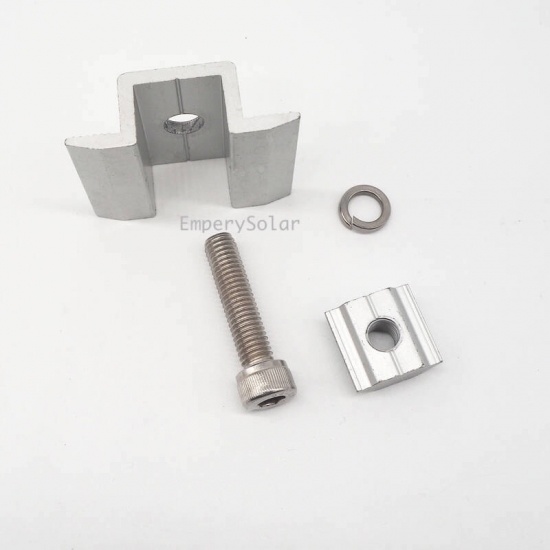
- **Mounting hardware**
- **Concrete** (for securing the mounts, if necessary)
- **Wiring and connectors**
6. Step-by-Step Installation Process
Follow these detailed steps to install your fixed tilt ground mount solar system:
Step 1: Mark the Installation Area
Use stakes and string to outline where your ground mounts will go. Ensure that the layout allows for optimal sunlight exposure.
Step 2: Dig Holes for the Mount Posts
Using a post-hole digger or auger, dig holes for your mounting posts. The depth will depend on your local frost line and soil conditions, typically around 3-4 feet deep.
Step 3: Set the Posts
Place the posts in the holes and ensure they are level. If necessary, secure them with concrete for added stability.
Step 4: Attach the Mounting Brackets
Once the posts are secure, attach the mounting brackets at the desired tilt angle. The standard tilt angle is typically set to your geographical latitude to maximize efficiency.
Step 5: Install the Solar Panels
Securely attach the solar panels to the mounting brackets. Ensure they are oriented correctly for optimal sunlight exposure.
Step 6: Connect the Electrical Components
Follow the manufacturer's instructions for wiring the solar panels to the inverter and battery storage system, if applicable. Make sure to use appropriate connectors and secure wiring.
Step 7: Conduct a System Check
Once everything is connected, check your system for any loose connections or potential issues.
Step 8: Monitor Performance
After installation, monitor your solar system’s performance to ensure it is functioning correctly and efficiently.
7. Making Adjustments for Optimal Performance
After installation, you may need to make adjustments to ensure your system is performing at its best:
Seasonal Adjustments
While fixed tilt systems are designed for efficiency, adjusting the tilt angle seasonally can further enhance performance.
Regular Monitoring
Use solar monitoring systems to track energy production and identify any performance issues.
8. Maintenance Tips for Long-lasting Efficiency
Regular maintenance is essential to keeping your fixed tilt ground mount system operating efficiently:
Cleaning the Panels
Dust, dirt, and debris can accumulate on solar panels, reducing efficiency. Clean them regularly using a soft cloth or sponge with mild soap and water.
Inspecting Hardware
Periodically check all mounting hardware for signs of wear or rust. Tighten any loose bolts or screws to ensure stability.
Monitoring Performance Metrics
Keep track of your system's energy production and compare it to expected output. Any significant drops in performance may indicate an underlying issue.
9. Frequently Asked Questions
What is the ideal tilt angle for solar panels?
The ideal tilt angle generally matches your geographical latitude. Adjustments can be made for seasonal changes to optimize performance.
How much space do I need for a fixed tilt ground mount system?
Space requirements depend on the number of solar panels. Plan for at least 10-15 feet between rows to avoid shading.
Can I install a fixed tilt ground mount system myself?
Yes, with the right tools and knowledge, many homeowners can install a fixed tilt ground mount system themselves.
What maintenance is required for a fixed tilt ground mount system?
Regular cleaning, hardware inspections, and performance monitoring are essential for maintaining efficiency.
How long does a fixed tilt ground mount system last?
A well-maintained fixed tilt ground mount system can last 25 years or more, depending on the quality of materials and installation.
10. Conclusion
Installing a **fixed tilt ground mount system** is an excellent way to maximize your solar energy output. With proper planning, site selection, and installation techniques, you can create a reliable solar power system that stands the test of time. Follow this guide to ensure you achieve optimal performance and enjoy the numerous benefits of solar energy for years to come. By taking these steps, you’re not only investing in renewable energy but also contributing to a sustainable future.
RELATED BLOG

How to Install a Fixed Tilt Ground Mount System for Optimal Solar Performance
How to Install a Fixed Tilt Ground Mount System for Optimal Solar Performance Table of Contents 1. Introduction to Fixed Tilt Ground Mount Systems 2. Benefits of Fixed Tilt Ground Mount Systems for Solar Installations 3. Planning Your Installation 4. Site Selection for Maximum Solar Exposure 5. Tools and Materials Required 6. Step-by-Step Installation Process 7. Making Adjustments for Optimal Per
View Details


Xiamen Empery Solar Technology Co.,Ltd.

Room 611, Quanyutong Business center, No.368, Xianhou She, Huli Districts. Xiamen,China.


Whatsapp : +86-13950145677


