

Product


News
Our company offers a comprehensive set of products in the industrial, commercial and
residential fields.
Ultimate Installation Guide: Setting Up Your Solar Mounting System for Maximum Efficiency
Release time:
2026-06-29
Ultimate Installation Guide: Setting Up Your Solar Mounting System for Maximum Efficiency
Table of Contents
- 1. Introduction to Solar Mounting Systems
- 2. Planning Your Installation
- 3. Tools and Materials Required
- 4. Site Selection for Optimal Sunlight Exposure
- 5. Types of Solar Mounting Systems
- 6. Step-by-Step Installation Process
- 7. System Maintenance Tips for Longevity
- 8. Common Issues and Solutions
- 9. Frequently Asked Questions
- 10. Conclusion
1. Introduction to Solar Mounting Systems
The burgeoning interest in renewable energy has made **solar power** an essential aspect of modern energy solutions. A pivotal component of any solar energy system is the **solar mounting system**. This guide aims to provide detailed insights into the installation process, ensuring your solar panels are securely mounted for optimal performance.
A solar mounting system serves as the foundation for your solar panels, ensuring they are angled correctly to capture sunlight efficiently. Proper installation not only enhances the performance of your solar power system but also maximizes its lifespan.
2. Planning Your Installation
Before diving into the installation, **planning** is crucial. Here are the key elements to consider:
2.1 Assessing Your Energy Needs
Determine how much energy you want to produce. This will help you calculate the number of panels you'll need and the size of your mounting system.
2.2 Evaluating Local Regulations
Check local building codes and regulations regarding solar installations. Some areas may have specific guidelines that need to be adhered to.
2.3 Budgeting for Installation
Outline the total costs, including panels, mounting systems, and any additional equipment like inverters. This budget will help you gauge the scale of your installation project.
3. Tools and Materials Required
Having the proper tools and materials is essential for a successful installation. Here’s a comprehensive list:
3.1 Essential Tools
- **Drill and bits:** For making holes in mounting surfaces.
- **Level:** To ensure your panels are installed evenly.
- **Wrench set:** For tightening bolts and securing components.
- **Measuring tape:** To measure distances accurately.
- **Safety gear:** Such as gloves, goggles, and harnesses for safety.
3.2 Necessary Materials
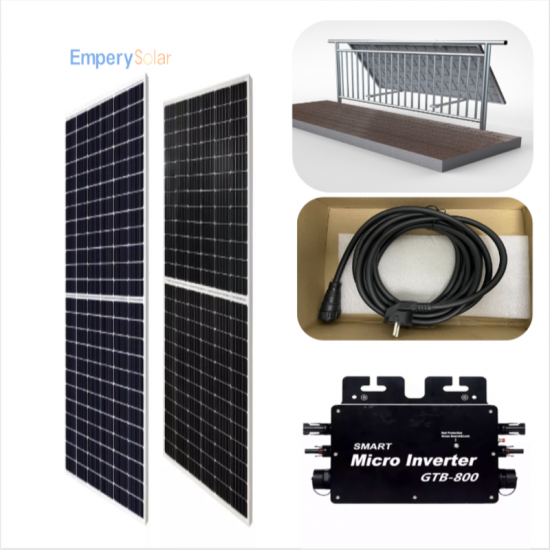
- **Solar panels:** The core of your solar power system.
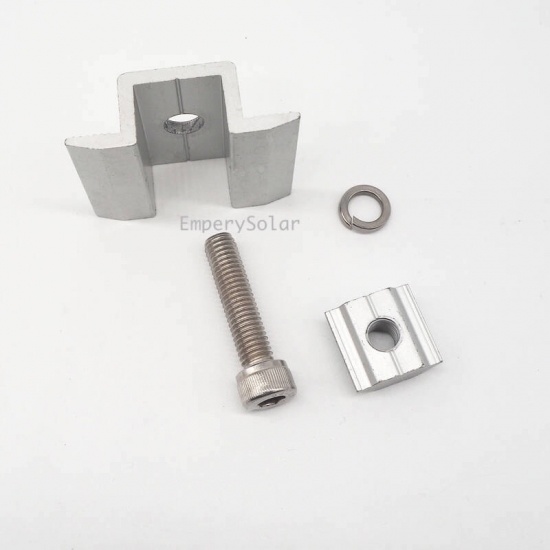
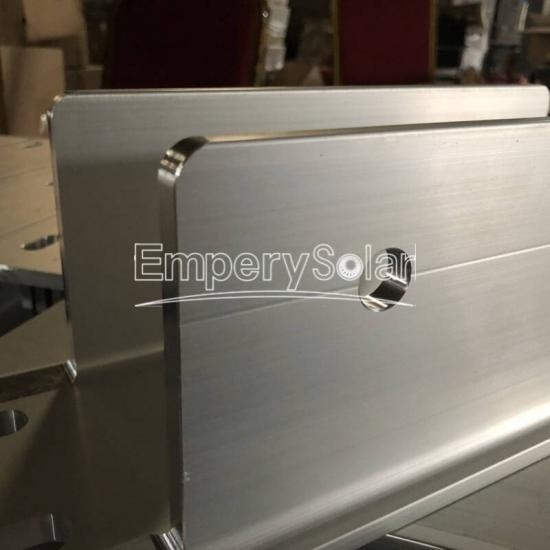
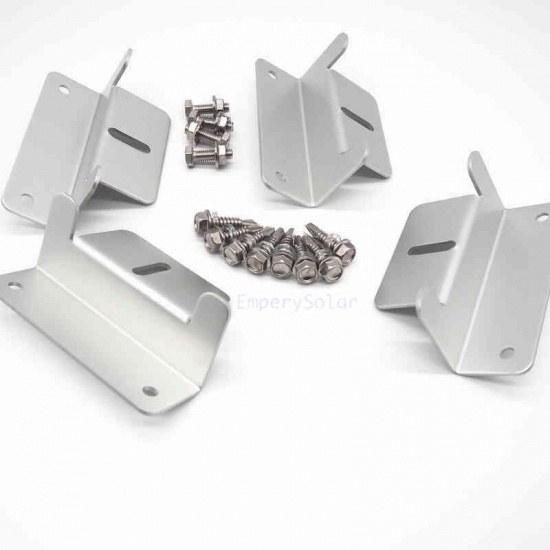
- **Mounting brackets:** To attach panels to the mounting structure.
- **Railing system:** Provides structural support for the solar panels.
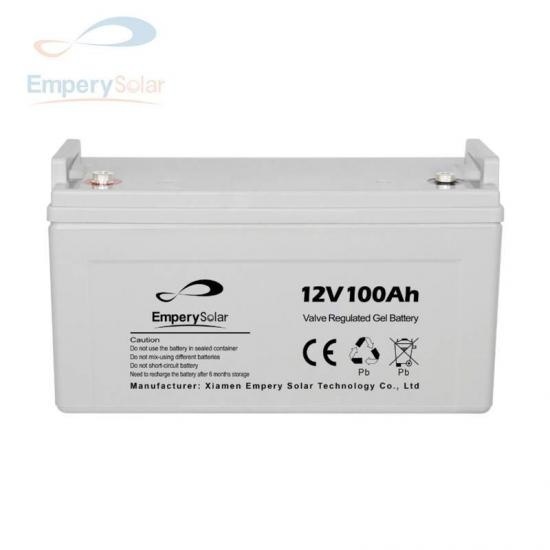
- **Inverters:** Convert the solar energy generated into usable electricity.
- **Wiring and connectors:** Ensure proper electrical connections.
4. Site Selection for Optimal Sunlight Exposure
Choosing the right location for your solar mounting system is critical for maximizing efficiency.
4.1 Identifying Sunlight Exposure
Analyze the potential site for adequate sunlight exposure throughout the day. Avoid areas shaded by trees, buildings, or other obstacles.
4.2 Orientation and Tilt
Position your solar panels facing true south in the northern hemisphere (or true north in the southern hemisphere) for optimal sunlight capture. Additionally, the tilt angle should match your geographical location to enhance performance.
5. Types of Solar Mounting Systems
There are three primary types of solar mounting systems, each with its unique advantages.
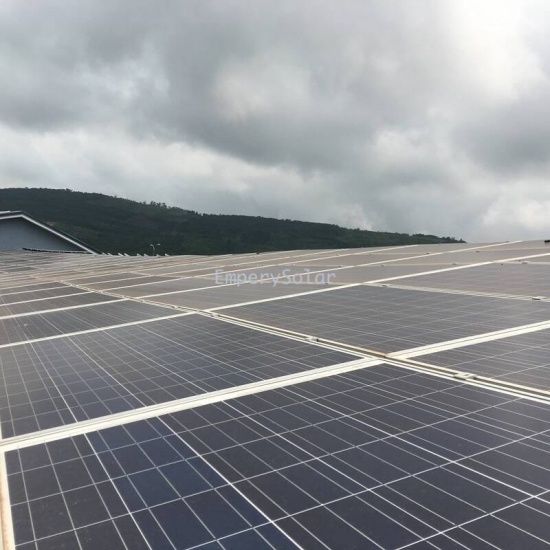
5.1 Roof-Mounted Systems
Ideal for residential properties, these systems utilize the roof's surface, thus saving ground space. Ensure your roof structure can support the weight and installation of solar panels.
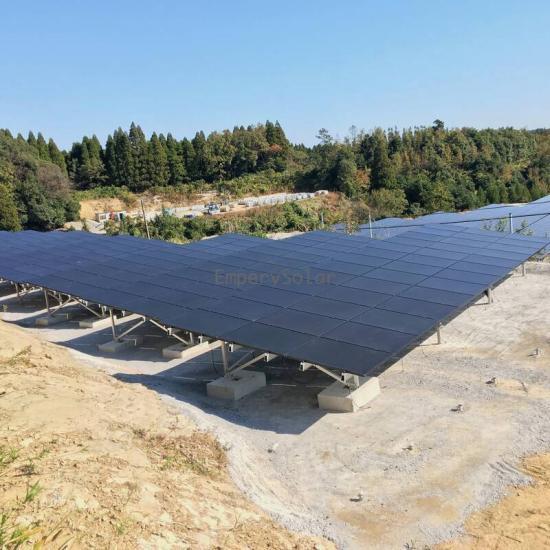
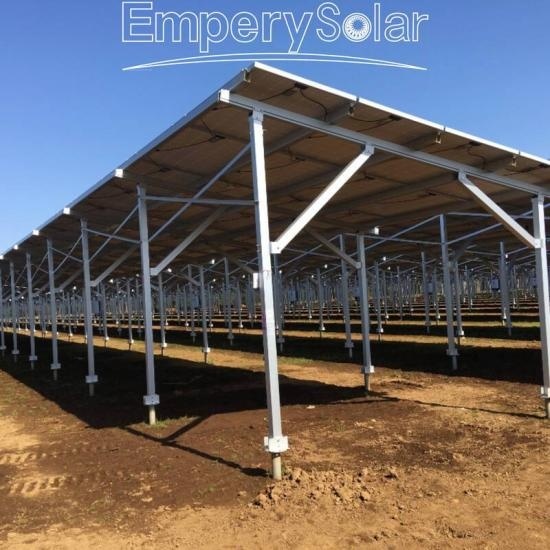
5.2 Ground-Mounted Systems
These are perfect for large installations, allowing for better access and maintenance. Ground-mounted systems can be installed at optimal angles, maximizing sunlight exposure.
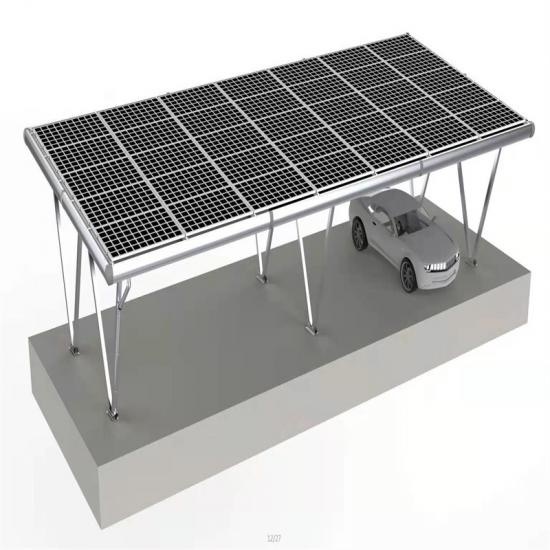
5.3 Pole-Mounted Systems
These systems are elevated and can follow the sun's trajectory (solar tracking), thereby enhancing energy production. They are suitable for regions with ample land space and minimal shading.
6. Step-by-Step Installation Process
Once planning and preparation are complete, you can proceed with the installation. Follow these detailed steps to ensure a successful setup.
6.1 Preparing the Site
Clear the installation area of debris, vegetation, and any obstacles. Ensure the ground is level for a stable foundation.
6.2 Installing the Mounting Structure
- **For Roof-Mounted Systems:**
- Secure the mounting brackets into the rafters of your roof.
- Use a waterproof sealant to prevent leaks.
- **For Ground-Mounted Systems:**
- Dig holes for the poles, ensuring they are deep enough for stability.
- Set the poles in concrete to secure them.
6.3 Attaching the Solar Panels
- Position the solar panels on the mounting structure.
- Use clips and brackets to secure the panels in place.
- Ensure they are aligned properly to optimize sunlight absorption.
6.4 Connecting the Electrical Components
- Connect the solar panels to the inverter using the appropriate wiring and connectors.
- Follow the manufacturer’s instructions for proper electrical setup.
- Ensure all connections are secure and insulated to prevent electrical hazards.
6.5 Final Inspection
- Double-check all mounts and electrical connections.
- Ensure panels are clean and free of obstructions.
- Conduct a test run to check the system's performance.
7. System Maintenance Tips for Longevity
To ensure your solar mounting system operates efficiently over the years, consider these maintenance tips:
7.1 Regular Cleaning
Dust, dirt, and debris can accumulate on solar panels, reducing efficiency. Clean your panels regularly with water and a soft cloth.
7.2 Inspections
Conduct annual inspections to check for wear and tear on mounting brackets, wiring, and panels. This proactive approach can help identify issues before they escalate.
7.3 Monitoring Performance
Use monitoring systems to track the performance of your solar panels. This can help you detect any drops in efficiency and address them promptly.
8. Common Issues and Solutions
Even with proper installation, issues may arise. Here are some common problems and their solutions:
8.1 Low Energy Production
If your system is not producing as much energy as expected, check for shading, dirt accumulation, or malfunctioning components.
8.2 Loose Mounting Hardware
Regularly inspect and tighten any loose bolts or screws on your mounting system to prevent damage from wind or severe weather conditions.
8.3 Electrical Issues
If you experience electrical problems, consult a professional. Avoid attempting complex repairs unless you have adequate electrical experience.
9. Frequently Asked Questions
9.1 How long does it take to install a solar mounting system?
The installation time varies depending on the system size and type but typically takes one to three days.
9.2 Can I install a solar mounting system myself?
Yes, many DIY enthusiasts successfully install their systems. However, ensure you have the necessary skills and tools, or consider hiring a professional.
9.3 What type of roof is best for solar panels?
Asphalt shingles, metal, and flat roofs are ideal for solar panel installation. Ensure the roofing material can support the weight of the panels.
9.4 How often should I clean my solar panels?
Cleaning every six months is generally sufficient, but more frequent cleaning may be necessary in dusty or polluted areas.
9.5 What happens if my panels are damaged?
If your solar panels are damaged, consult with a professional for assessment and repair options.
10. Conclusion
Setting up a solar mounting system is a rewarding endeavor that can significantly reduce energy costs and contribute to a sustainable future. By following this comprehensive installation guide, you can ensure that your solar panels are mounted securely and optimized for maximum efficiency. Remember to conduct regular maintenance and inspections for longevity and performance. Embrace the power of solar energy and enjoy the benefits of clean, renewable power for years to come.
RELATED BLOG

Ultimate Installation Guide: Setting Up Your Solar Mounting System for Maximum Efficiency
Ultimate Installation Guide: Setting Up Your Solar Mounting System for Maximum Efficiency Table of Contents 1. Introduction to Solar Mounting Systems 2. Planning Your Installation 3. Tools and Materials Required 4. Site Selection for Optimal Sunlight Exposure 5. Types of Solar Mounting Systems 6. Step-by-Step Installation Process 7. System Maintenance Tips for Longev
View Details


Xiamen Empery Solar Technology Co.,Ltd.

Room 611, Quanyutong Business center, No.368, Xianhou She, Huli Districts. Xiamen,China.


Whatsapp : +86-13950145677


